Lincoln Land Bee Keepers Association
Find Us On Facebook
  • Home
  • Links
  • Educational & Reference
  • Summary of Events
  • Calendar
  • Meeting Minutes
  • Swarms - What to do
  • Swarm Capture List
  • Documents
  • Download
  • Blog - Around the Hive
  • Photos
  • Slide Show
  • Videos
  • Buy/Sell/Swap
  • Google Group
  • Contact

Quick Honey Harvest

5/9/2015

0 Comments

 
Picture
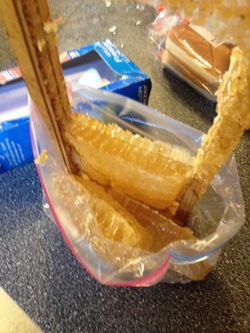
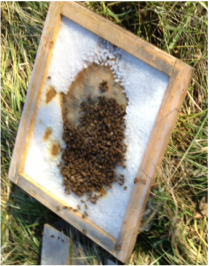
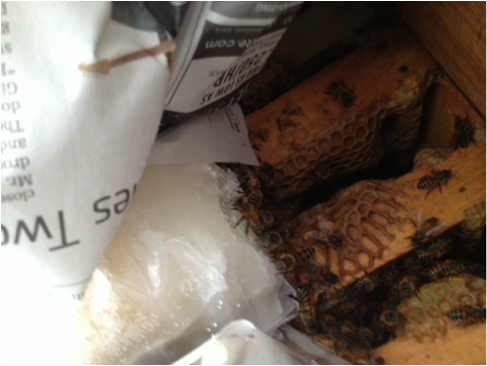
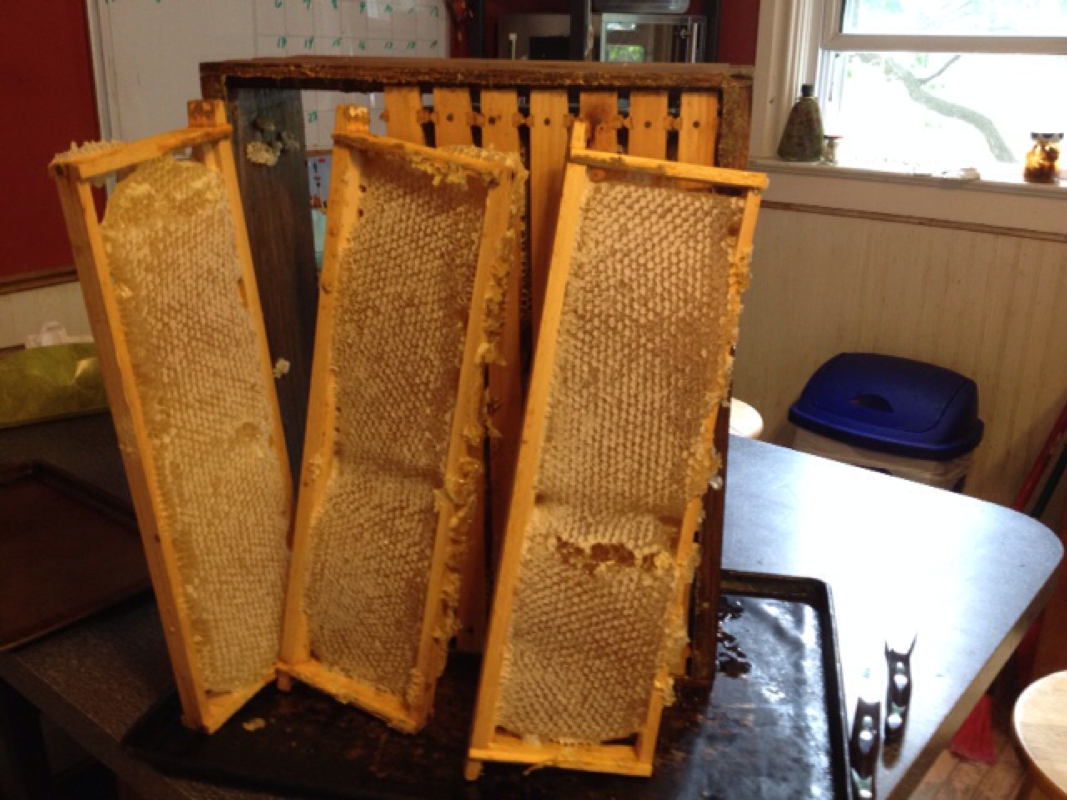
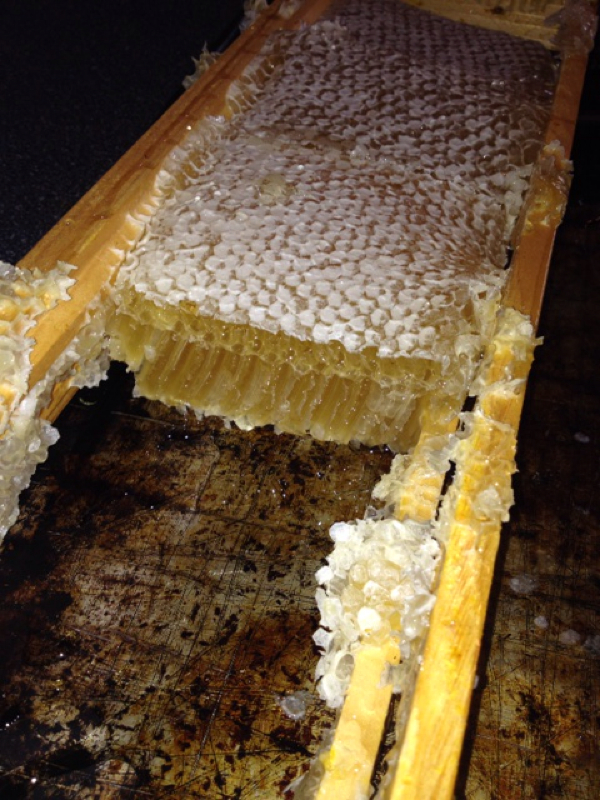
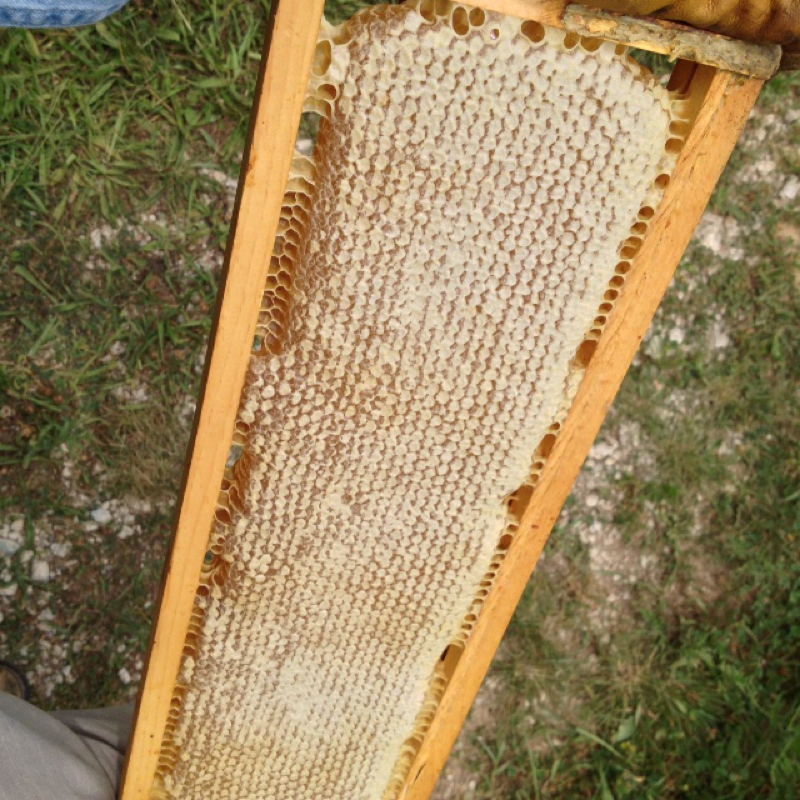
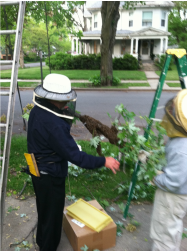
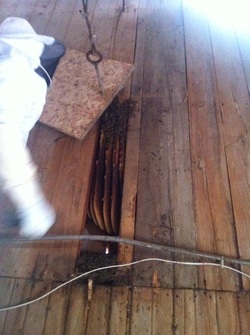
While working through a mature hive, cleaning out burr comb, etc., I discovered that this hive had an abundance of early honey.  As it was mostly from burr comb and an irregular "free form" comb, I cut it out so I could replace the broken frame that was the source of the mess.

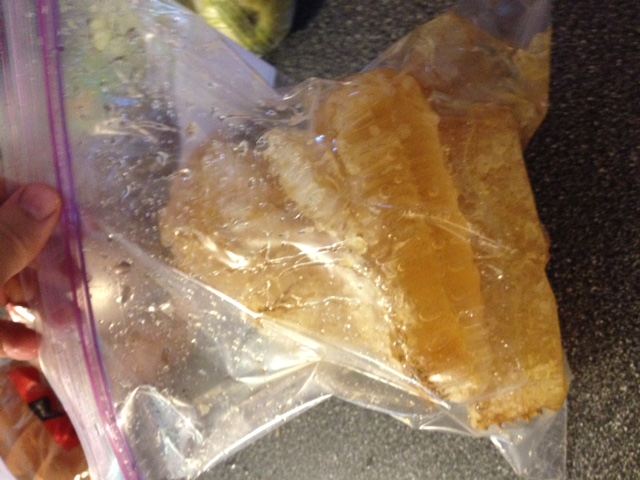
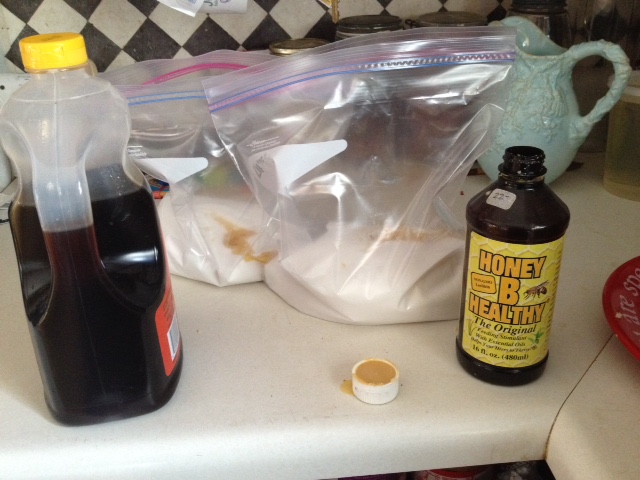
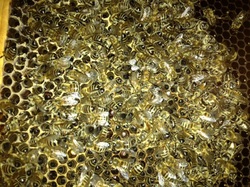
Once I brought it home, I cut out the comb with the thought that I would press it and take out the honey.  I didn't want any comb honey right now. 

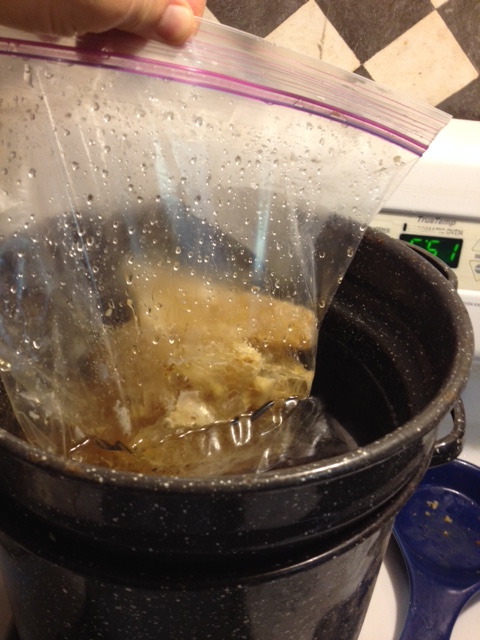
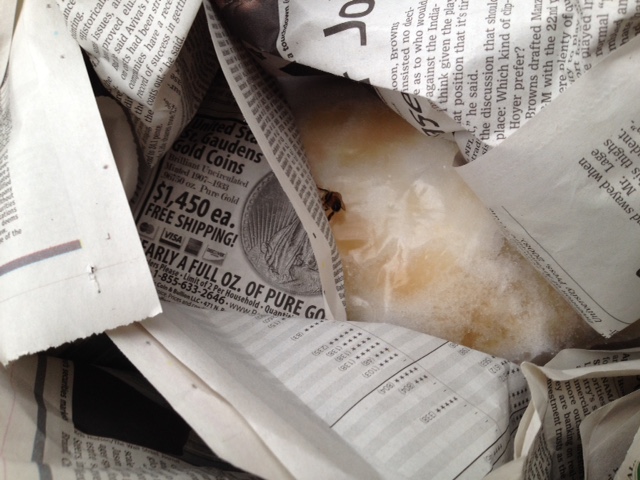
So I thought, why not just cut it into a 1 gallon freezer bag and put it into hot water.  The idea is that the honey would sink to the bottom.  I could then snip the bottom of the bag and let the honey drain out, and deal with the wax later.  Full gallery below.

Picture

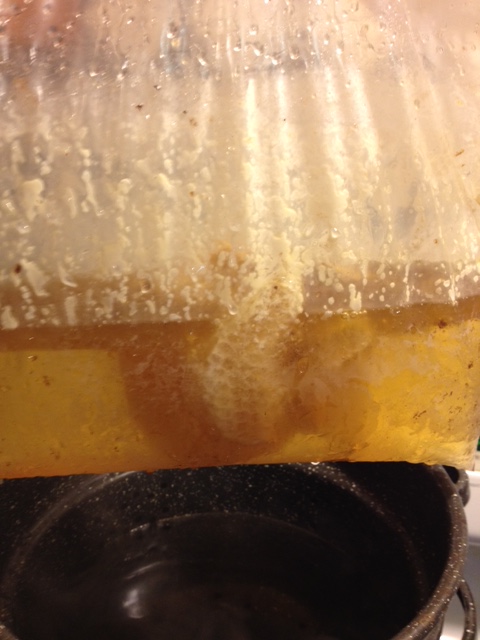
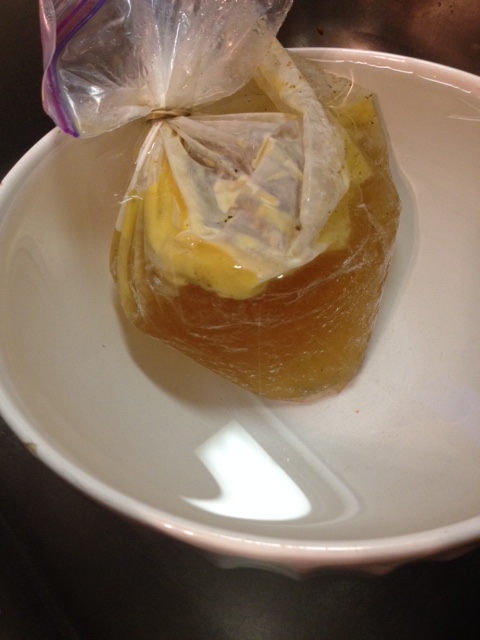
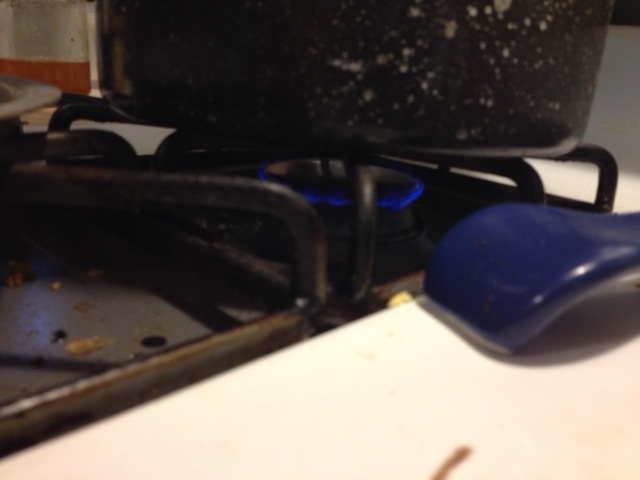
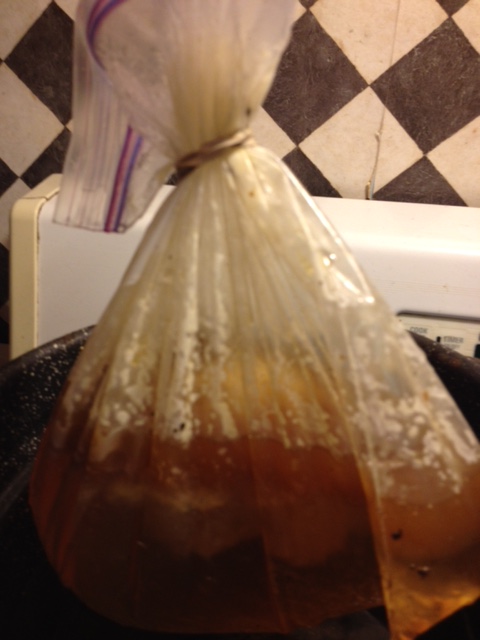
Meltdown.  Once it was in the hot water, I took a rubber band to tie off the top and make sure the honey settled into the corner of the bag.  This also makes it a little easier to handle while the bag is in the hot water.

Into Hot Water.  I put it into hot water.  I had a pan that had a colander insert, which I thought would prevent any melting .

Once the water was just below boiling, I put the fire on low.  The aim was to melt the wax, not cook the honey.

Picture

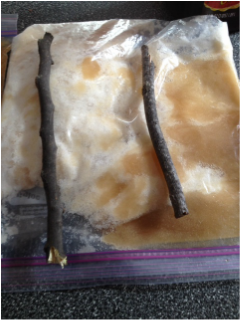
It wont take long.  Once the bag settled, it did not take long for the hot water to do its job.  The honey and wax separated as planned!  Probably took 5 - 10 minutes in the water.

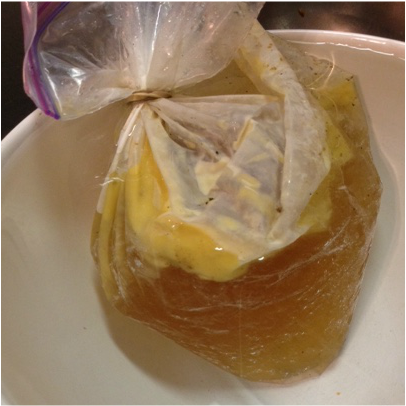
Bath time.  Once everything was melted, I took the bag out and immediately placed it into a bowl of cold water.  This helps the wax to stay separated and makes handling easier.

Picture
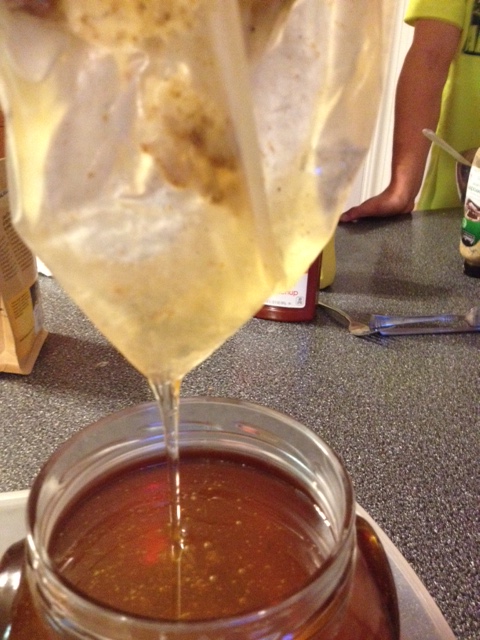
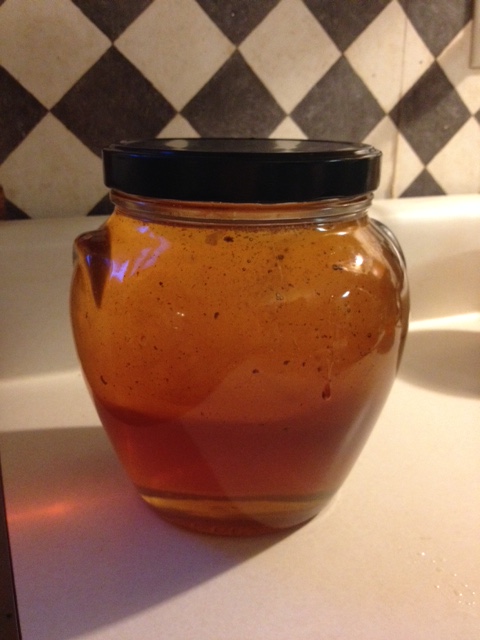
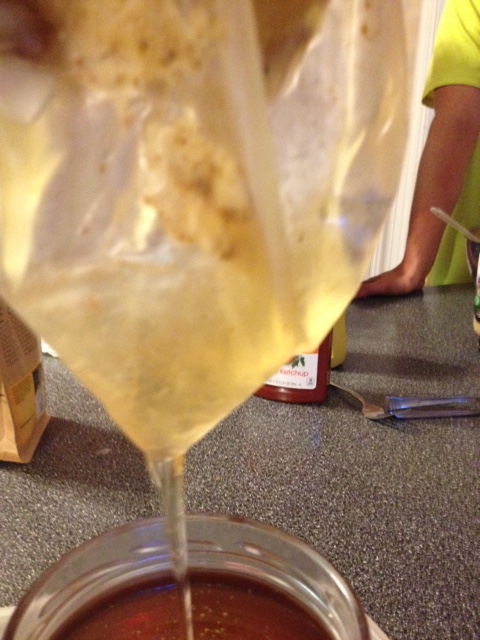
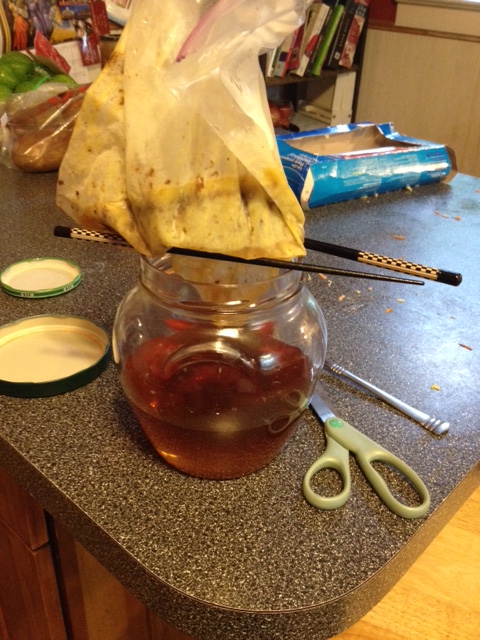
Now that was easy!  From here, I put the bag-o-honey over the jar, supported it with some chop sticks, and clipped the end of the bag.  Out came the warm honey.  This seemed too easy.  

I know some of you beekeepers out there, who are as frugal as I am, are probably saying to yourself:  "Tim, you wasted a perfectly good plastic bag!"  And you know, you are right.  I will take the bags, put these in the freezer and dig out the wax later, then put them in the recycling bin.

Until next time, see you around the hive.
tim
0 Comments

Honey Flow Hive:  Is It For Real?

2/23/2015

0 Comments

 
Picture
I've got the bug.  I followed it on Facebook.  I bought the product during the launch today on Indegogo.  What is it? 

It's a beekeeper's ideal:  You put a honey super with these new frames and turn a tap and the honey flows down a tube into a jar!

From the web site www.honeyflow.com we read:
It's the beekeepers dream... Turn a tap and watch as pure, fresh, clean honey flows right out of the hive and into your jar.  No mess, no fuss, no expensive processing equipment and the bees are hardly even disturbed.

"This really is a revolution.  You can see into the hive, see when the honey is ready and take it away in such a gentle way."

We are very excited to introduce our new invention that allows you to enjoy fresh honey straight out of your beehive without opening it.  It's far less stress for the bees and much, much easier for the beekeeper. 


0 Comments

Krabby Pattie IV - Return of the Colony

1/30/2015

0 Comments

 
Picture
In a bee yard, far, far away....

When we last visited the empire of the bees, all was well.

I dropped in on the queendom to see if they were weathering the winter.  So far so good.

This time around, I replaced the Krabby Patties from last month with a new mixture.

Picture
This time I added Honey-Bee-Healthy to the mix and really soaked the sugar with syrup.  The bees seemed to like the heavier syrup mix version.
Picture
They had eaten about 1/3d of the concoction, so I simply replaced the existing with a new patty.  This seems a bit wasteful for a beekeeper, but I really wanted to continue the experiment. 

Besides, rest assured that I will use the "old sugar" to make some new patties or some kind of supplemental feeding.  I may end up reconfiguring the candy board.  I also put some sticks into the bag instead of going through the hassle of sawing some wood pieces.

The rest of the process was the same as before.

My joy in this normal, non-vortex, winter, is that the bees are thriving and returning to full strength.


Picture

My one fear is this - there is a mouse in one of my hives.

That's a whole other posting.  In short, it's not good.

But the weather was too cold to pull the hive apart in search of the critter. 

The mouse guard was in place but the creature had entered through some  crack or other entrance.

So until next time, I'll be watching that hive closely and praying for a 60 degree+ day to get rid of the mouse.

0 Comments

Krabbie Pattie Part Three (3) (III)

12/26/2014

0 Comments

 
Picture
Happy St. Stephens Day!

Here in Central Illinois, it was a balmy 55 degrees.  A great day to check on the bees.

So glad I did as this hive was not flying and my other hive was very active and flying.

Once I opened the hive, they flew a lot...mostly at me!

This colony had a candy board on it, which did its job since I put it on in mid-November.  Sot it was time to replace it with a Krabbie Pattie.  I'm very hopeful that this experiment will take my bees through the winter and make them hardy and healthy for the spring.  So I'm going to take you through the process one more time, and then report back on what differences I see on my next post, which will be on a different subject, but will include a short update.

Picture
With this hive, the bees had consumed most of the board, as you can see from the photo.  My one fear with the candy board was that it did not allow the hive to "breathe" enough.  That is, before I put it back on the hive, I'll drill a few holes in it to allow moisture to escape.

The advantage with the candy board is that you don't have to put any additional spacer (e.g. a super box or half-super box) to accommodate the fatter pattie.

Picture
For this hive, I added a pattie along with a honey super.

I put the pattie on a wire fencing so it acted as a fence because I thought it gave more support to the pattie.  I over-did the water\syrup on this one and it was more soupy than I wanted and never did firm up.  So the cage worked to spread the weight and moisture along the full length of the bag.

Picture
I wadded up the newspapers and put those into the super on top of the pattie because it fills the void and absorbs moisture without adding a lot of weight to the hive body. 

Picture
Lastly, I placed the caged pattie on the hive.  The wire mesh helped keep the bag from crushing bees but still was rigid enough to distribute the product.
I then put the papers on and put a lid on the whole thing, with a nice heavy brick to keep the lighter-than-usual honey super from blowing away.

That's my latest!  I'll probably reload the candy-board and swap that out later in the winter or early spring.  Meanwhile, my next Krabbie Pattie (probably late winter)  will have some protein in it, which will give the bees a boost going into egg-laying.

That's all from my view around the hive this week.

Merry Christmas and Happy New Year!
tim

0 Comments

Krabby Patty Update: Feed Your Bees!

12/16/2014

0 Comments

 
Picture
If you saw last weeks post on Krabby Patties, I promised an update.
So here it is.

I put the patty on a week ago Saturday.  As mentioned, the bees were NOT happy about me opening the hive when it was 35 degrees outside.

Incidentally, I used this opportunity to clear out the entrance of dead bees.  The girls have been busy cleaning house and I wanted to clear the front of all their hard work.

Picture
_So I opened the hive and heard the happy, healthy sound of bees humming through the middle of December.  They were all over the Krabby Pattie!

I took the opportunity to cut a few smaller slices on the side that was exposed.   Why?  Because I wanted to make sure they had access and was worried that the bottom openings (slices about 3" long) were not clogged or frozen.

From this point on, I'm going to use this method.  I will likely put some protein powder in the mix or just put a protein patty on with the Jan/Feb patty.  I don't know how long it will take the girls to go through this patty, but will be watching closely, especially if this winter is anything like last winter!

A few other pictures below.  Give your bees some Krabby Patties for Christmas!  They will love you come next spring when they are producing great honey having survived another Illinois vortex.  Merry Christmas! 
tim   
Picture
Picture
0 Comments

Are Your Bees Craving Krabby Patties?

12/12/2014

0 Comments

 
Picture
First, I want to apologize for my delinquent postings. The election here in IL drove me to distraction.  Also, I've been working on my other blog since my trip abroad this summer. That being said, let's get into the topic for this month:  Krabby Patties and winter feeding.

I hadn't heard of the Krabby Patty for feeding bees over the winter, but once it was put out there, it made a lot of sense.  I've had mixed results with the candy boards.

So last weekend I put one on one of my hives.  I've got a candy board on the other one and I'll report back and let you know how the bees like the Krabby Patty. 

Picture
I don't know how these got the name: Krabby Patty.  And it's been a personal pledge of mine to keep the kids from watching inane shows like Sponge Bob, but that's where the name comes from some how.

There are several variations to the recipe for the Krabby Patty.  I'll tell you mine shortly.  But what Steve has loaded on the site here is a great place to start.

I used the recipe on the site, but swapped out pancake syrup for the water to make the mixture more sticky:  More candy-like. I inserted two 1" x 1" x 4" sticks into the bag.  These allow the bag to sit on top the frames without sliding down.  ( As winter peaks and spring gets closer, I'll put some protein in with the sugar.)

I then put three or four 3 inch long slits in the package.  I opened the hive.  The bees did not appreciate that I was letting the 35 degree air into their comfy zone.

Picture
So I quickly placed the patty on the frames, and put wadded newspaper all around the rest of the super to absorb excess moisture.

If you look close, you can see the patty near the top center of the super.


Next, I put the inner cover on and put some sticks around the inside top to add some additional ventilation. 

You are probably wondering why:  too much moisture gets in and it forms drops of cold water, which drip down on the bees and they freeze to death.  The newspaper and the extra ventilation prevent this.
So, there's the completed project.  I'll check on them this weekend and see if they liked it, and report back to you with a follow-up blog post.

Until then, see you around the hive!
tim
Picture
0 Comments

Are you experimenting with "top bar" frames?

7/18/2014

3 Comments

 
Picture
One of the things I like about beekeeping is the experimenting. Hopefully never at the cost of the lives of the bees!

This year I am trying the 'D' frames (from Kelly's: http://www.kelleybees.com). These are supposed to replicate the process the bees use in a 'top bar' hive (Maybe I'll try that next year).
Picture
On the whole, I'm very pleased. Especially if you like comb honey, you will find the D frames a wonderful alternative to the thin foundation, since the bees do a great job of drawing out the comb their way. If you are a perfectionist, you will want to skip this method entirely.

The key is taking some old wax and prepping the inside top, bottom and sides with some bees wax. I took a small block and just rubbed it on generously.

The bees then drew out the wax and filled and capped. But as you can see, the girls decided that one side needed to be deeper than the other.
I will definitely continue this method in the future for comb honey. It's a little messy, but I like that all the wax is from the bees in that particular hive. This helps me understand the strength and work ethic of that particular hive.

And the taste, as always, never disappoints!

Until next time, see you around the hive!

Tim

P.S.  Found this lovely reflection during this writing.  Enjoy!  From Odes of Solomon (Hebrew Christian text from the beginning of the 2nd century) No. 30 (trans.©James Charlesworth, rev.) 

Fill for yourselves water from the living spring of the Lord, (Jn 4,10; 7,3) because it has been opened for you. 

And come all you thirsty and take a drink, and rest beside the spring of the Lord, 
because it is pleasing and sparkling, and perpetually pleases the self. 

For more refreshing is its water than honey, and the honeycomb of bees is not to be compared with it; (cf. Ps 18[19],11) 

Because it flowed from the lips of the Lord, and it took its name from the heart of the Lord. 

And it came boundless and invisible,and until it appeared they knew it not. 
Blessed are they who have drunk from it, and have have quenched their thirst! 

Amen!
Picture
3 Comments

Are You Passing on the Love of Bees?

6/9/2014

0 Comments

 
Picture
At one time, I was a new  beekeeper.  I think I was 12 when I got my first hive over on 22d Street in my parent's back yard.  I got the bug because my neighbors got a hive they had captured out of a barn.

So yesterday I had the opportunity and the rare pleasure of introducing my friend Yettie to the bees of suburban Loami.  I hope you get to do this as well this year.

Yettie wanted to see the inside of the hive and learn about what the bees were up to on a nice summer day.

I wanted to see why the girls were spastically producing so much honey all of a sudden.  And then we took one frame off for tasting!


Picture
We covered the basics of the hive: from the parts of the hive body to the frames and cells.  It reminds me of the history of guilds and how knowledge was passed on in those organizations.

It was fun pointing out the various items to Yettie and showing how the bees were moving.  Even showing the equipment and tools and patterns was great fun.

One of the things I realized while talking with Yettie, was that I take many aspects of beekeeping for granted.

For example, when the hive is opened, I'm listening to the hive.  It's hard to describe but I can tell when the bees are "angry" or settled by their sound.  Similarly, the smell of the hive tells me about it's general health and the state of their production.  I'm sniffing for sour smells that might tell me that there's foul brood or mouse urine, or some other nasty element that's afoot. And of course, I'm always looking for the dreaded varroa mites!

Picture
In this picture from a few years ago, my friend, Dave, is helping me retrieve a swarm from out in front of my house.  Since then, I've captured several swarms on my own. And shown a few others how to do this as well.

So there have been many bee-keeper mentors in my life and I have been working toward helping new beekeepers get started or get to the next step.

When I got back into beekeeping, LLBK set me up with new bees, training, hardware, etc.  The cost of the hobby was insignificant compared to all the help and free advice I got from these dedicated people.

Picture
Now yesterday, I was scanning through facebook when I saw that one of the beekeepers I had worked with a few years ago was tearing apart a barn to save a hive! 

I can't tell you how satisfied (and proud)  I felt seeing Cynthia's work unfold.

Looks like Cynthia and Matt are well on their way to showing the next beekeepers how to do it.

So my question for you is:  Who have you helped get started in beekeeping?  What are you doing to show the next generation or the neighbor who's always asking questions about your bees, how to get into this very rewarding hobby?

Picture
My wish for you is that you will pass the love of beekeeping on to others.

Until next time, we will see you around the hive.

tim

0 Comments

World's Most Embarrassing Stings!

4/4/2014

1 Comment

 
First, let me apologize for the infrequency of posts over the last few months.  I keep waiting for the news to get better, which I'll go into in a later post.  But winter SEEMS to be over here in Central Illinois, but I don't want to be hasty.

I saw this article from National Geographic, and had to re-post it for everyone's delight and amazement.  I'm also posting two links from the article, that are also a good read.  So as you check your hives in the coming (eventual) warm weather, zip up!
Picture
While we've all been stung many times, I have to report that I have never intentionally had a bee sting me.  A friend who has MS reports that bee stings give some relief from her symptoms.

So, why would you intentionally have bees sting you?  Why, to measure the relative painfulness of the sting vis-a-vis your particular body part.


Picture
Thankfully, that's what college students are for:  This alert young lad decided he would subject his body to our stinging friends over a period of a few weeks, and gauge the stings from 1-10. 

And the accompanying article relates, this young lad decided to find out which parts were most sensitive.  No REAL surprises, but some interesting results.This is a quick and fun read, especially if you've had some surprising stings yourself over the years.  Be sure to click through to the links on the article.

PictureTim's eye-catching sting
If you have a moment, share a comment about your "best" or "worst" sting you've encountered.

Just to be fair, I'm posting "My Most Embarrassing Sting" to encourage you to share your story in our comments section.

Until next time, which won't be that far away, and when I'll report on how my bees did over the winter, keep 'em flying!

1 Comment

Lost - Season 4 - Episode 14 - The Winter Vortex

1/22/2014

0 Comments

 
Picture
A sad day this week when the weather warmed to 50 degrees and I went to check on my hives: Two colonies down due to the weather.  I'm hoping the others don't succumb.

The girls had food, but I'm guessing the population wasn't sufficient to keep the hive warm enough during the protracted cold spell known as the 2014 Winter Vortex. 

Picture
Details.  The bees shifted a bit, but had their heads in the comb. 

I had put candy boards on this hive, late this fall.  The board still had plenty of candy on it when I checked the hive. It did not look as if it had been touched, really.

The bees had decent stores in the late fall, but not a lot.  I did not take any honey from this hive as it was a new colony.  Their population was a bit  lower than I like. 

Lesson Learned.
1. In hind sight, I should have combined these with the other colony I lost. That would have  saved both.  But who can predict the weather?
2. The other idea would have been to boost the population in the fall.  Frankly, I'm not a very good judge of how much is enough, other than going by weight.  But on the newer colony, I should have simply done it. 

Until next time, see you around the hive!
tim


0 Comments
<<Previous

    Author

    Tim M (Bee Keeper)

    Archives

    May 2015
    February 2015
    January 2015
    December 2014
    July 2014
    June 2014
    April 2014
    January 2014
    December 2013
    November 2013
    July 2013
    May 2013
    April 2013
    March 2013
    February 2013
    January 2013
    December 2012
    November 2012
    October 2012
    September 2012
    March 2012
    February 2012
    January 2012

    Categories

    All
    Basics
    Bee Gum
    Beekeeping
    Bees
    Candy Board
    Capture
    Cold Weather
    Colony
    Drone
    Feral
    Green Foundation
    Harvesting Honey
    Hive Body
    Lesson Learned
    Mentoring
    Mite
    Pollen Patty
    Population
    Queen Bees
    Queen Initiative
    Screened Bottom Board
    Smoker
    Stings
    Stores
    Sugar Patty
    Swarm
    Swarm Box
    Swarms
    Wood-working

    RSS Feed

Contact Lincoln Land Bee Keepers Association
P. O. Box 20402, Springfield,  IL  62708


Contact Webmaster
Copyright © 2013, 2014, 2015 & 2016. All Rights Reserved  -   Lincoln Land Bee Keepers Association - P.O. Box 20402  - Springfield, IL  62708
✕